 Trying any new craft can be daunting – there is a lot of information available, which can be helpful but can also be overwhelming. Soap making is no different – it is a basic concept that can be easily over-complicated. So, lets start with what you must have, and then maybe look at some “nice to haves”.
Must haves – Oil, lye solution, heat proof bowl, stick blender, kitchen scales, a mould, safety glasses and gloves. That’s it – with those ingredients and tools, you can make soap. And it will probably be great.
From there, the choices are almost endless – depending on whether you want to add colours, or fragrances (either with essential oils or fragrance oils), additives like clay or activated charcoal, exfoliating agents, animal products such as milks or honey – you will be able to make soap with only the ingredients you choose.
So – back to the must haves.
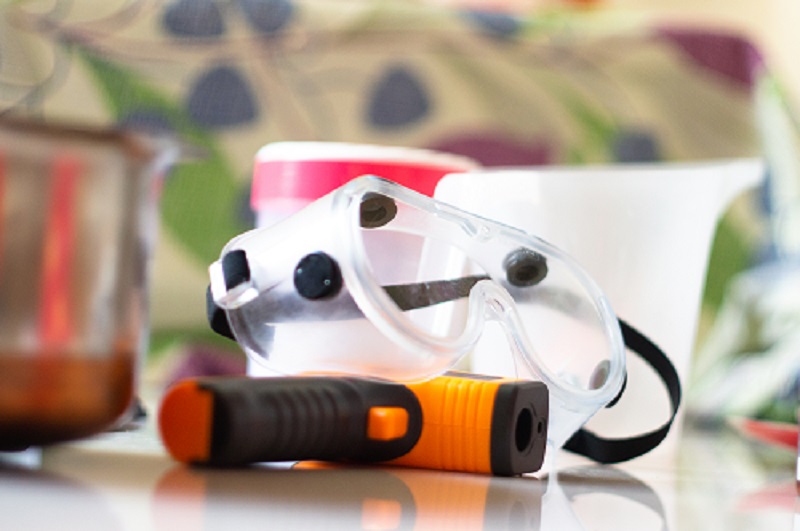
Safety stuff – when making soap, you must work with a lye solution which can cause burns to the skin or damage to your eyes if it accidently splashed onto unprotected areas. And your soap batter is still capable of burning sensitive areas until it has been allowed to complete the saponification process – usually 24 hours. Therefore it is important that you wear gloves to protect your hands, and safety glasses to protect your eyes.
Oil
– each oil or butter you use will give your soap different properties. Coconut oil is great for a bubbly lather, but can also be quite drying on the skin. Olive oil is moisturising, but does not have great lathering properties. Therefore, many soap makers choose to use only these two oils, in various proportions, and change the fragrances and colours to build a range of soaps. But using a soap recipe calculator such as Soapcalc will allow you to build a recipe using whatever oils you may have on hand.
Lye solution
– In Cold Process soaps, a solution of sodium hydroxide (NaOH) mixed with a liquid (usually distilled water) is used to saponify the oils to create soap. Water can be substituted for pretty much any liquid, however when using anything other than water, you will need to be mindful that the additional properties of that liquid will have an impact on how you make the soap, as well as on your finished product. For example, if you wish to substitute coconut milk or goats milk for the liquid portion of your lye solution, you will need to freeze the milk before adding the lye – not only to reduce the fumes (which is why I use iced water when making lye solution) but also to reduce the scorching effect of the lye on the fats that are in the milk. If you wish to use beer (as I do in my Short and Stout soap) you will need to boil the beer to remove the carbonation and also freeze the beer before adding the NaOH. For liquid soaps, the lye solution is made with Potassium Hydroxide (KOH). Whichever solution you are using, it is very important to ALWAYS add the lye granules to the liquid, and not the other way around.

Equipment
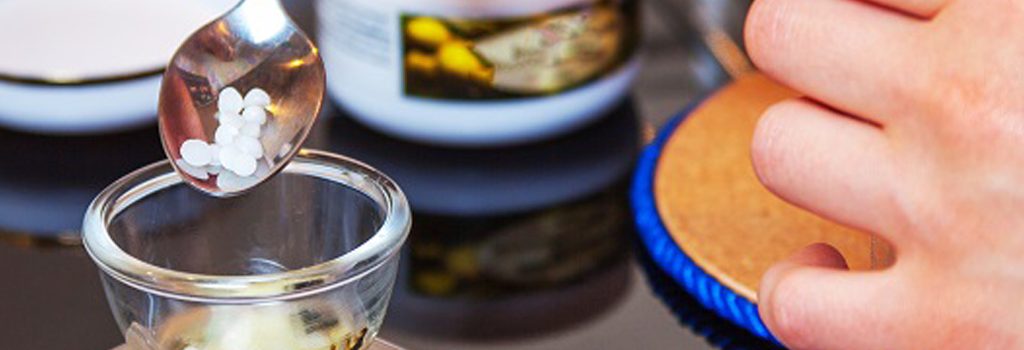
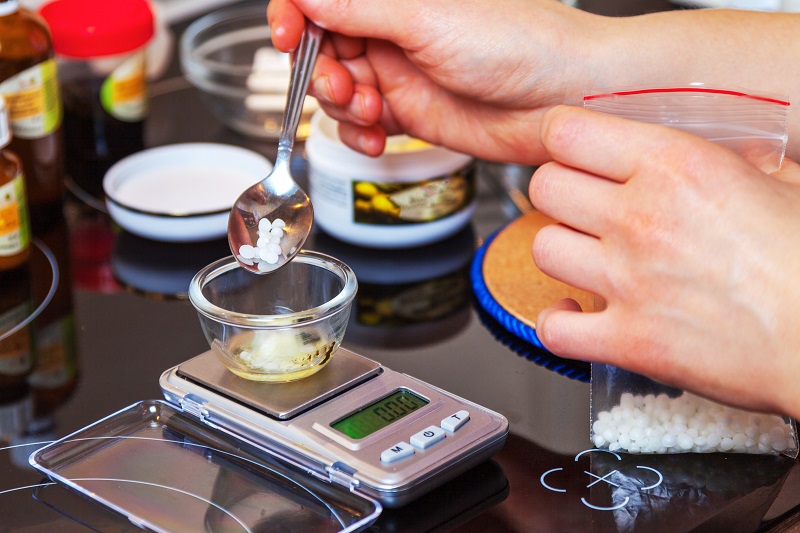
– Kitchen scales – soap recipes are usually built using weight not volume, so a kitchen scale is important. Soap making is a reasonably exact science – by that I mean that the more specific you are in measuring, the better, but if you add an extra gram or two of oil to your recipe, then it is likely it will just be a little more moisturising as your lye component won’t be sufficient to saponify all of the oil. It is however VERY important to be accurate with your lye solution measurements so that you don’t inadvertently make a lye heavy soap which will cause irritation.

Stick blender
– soap making has been around for centuries, and stick blenders have not, so it is obviously possible to make soap without a stick blender, however it does take a lot longer and a lot more effort. (Plus I think most soap from the ages was made by cooking – aka Hot Process – rather than Cold Process.) A stick blender allows the oils and lye to be emulsified quickly, and accelerates the saponification process.
Bowl, spatula, mould
– pretty self-explanatory really – just be sure when you select the bowl that you wish to mix the soap in that you select one that is large enough to hold the batter volume with room to spare so you can easily manoeuvre to pour into your mould. With the mould, a good first choice is a lined cake plan, or silicon muffin or cupcake moulds. Silicon is an excellent choice as the soap releases easily. If using a standard cake pan, it is important to line it with freezer paper or plastic wrap to make it easy to release from the pan. There is obviously an endless supply of moulds available on the market but there is no need to incur the expense initially.

Now that you have the must haves covered, you may want to consider adding a little something extra to your soap.
- Fragrance – using essential oils or fragrance oils – just be sure to keep the amounts low enough that they don’t create irritation for the person using it – soap recipe calculators will provide the rate of fragrance oil to use – stick to it.
- Colour – natural colours can be created with things like turmeric, coffee, spirulina powder etc as well as clays or micas;
- Exfoliants – used coffee grounds, poppy seeds, colloidal oatmeal – all of these make great gentle exfoliant additives;
- Clays – not only can they provide gentle natural colour, but they can also add excellent properties to the soap, leaving the skin feeling smooth and cleansed.
